
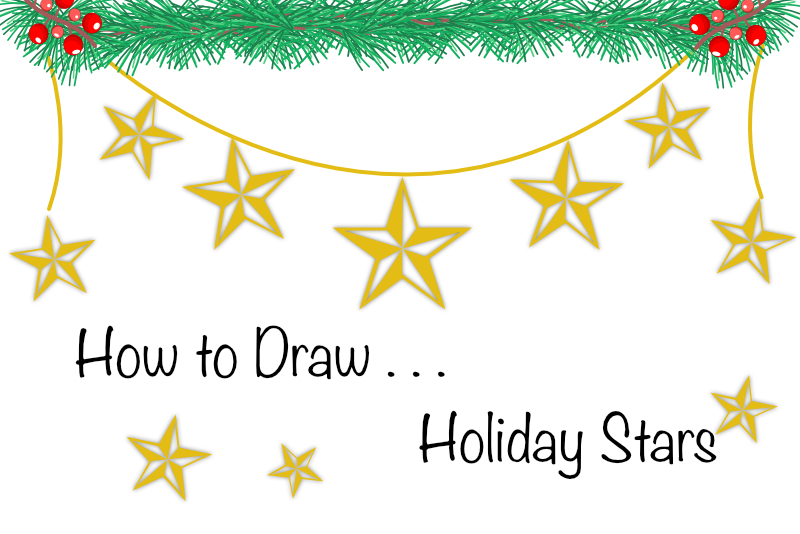
How to Draw Holiday Stars Affinity Designer
In this Affinity® Designer tutorial, we will create one of the basic holiday icons, which is the star. We will use the Star tool in Affinity Designer to draw the basic five pointed star shape. Using a Boolean operation, we will cut away part of the star, creating a 3D effect. Once we have the star completed, we will add a golden color and the Outer Shadow layer effect.
Open Affinity Designer and let's get started.
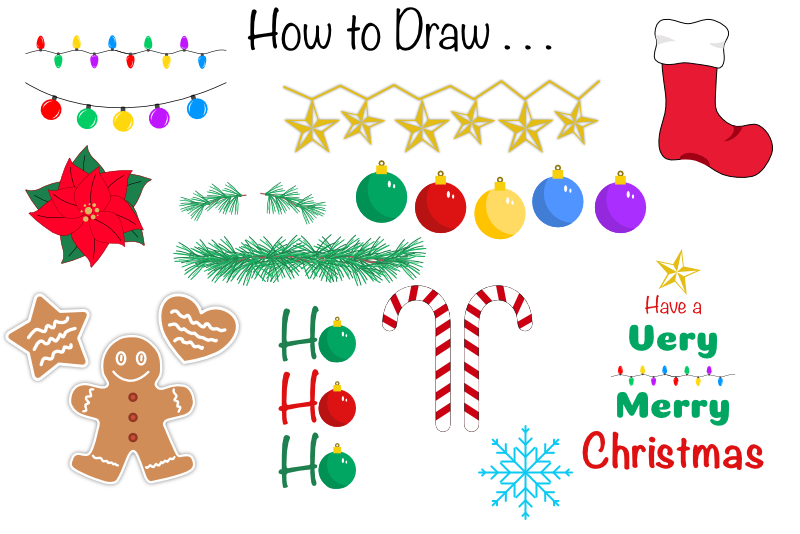
Index - How to Draw a Holiday Theme Collection of Elements
Affinity® Designer screenshots used by permission of Serif (Europe) Ltd. This article is not endorsed by Serif Ltd.
Open Affinity Designer and let's get started.
- Start a new document that is 1000 x 1000 pixels at 144 dpi for web/mobile or 300 dpi for print.
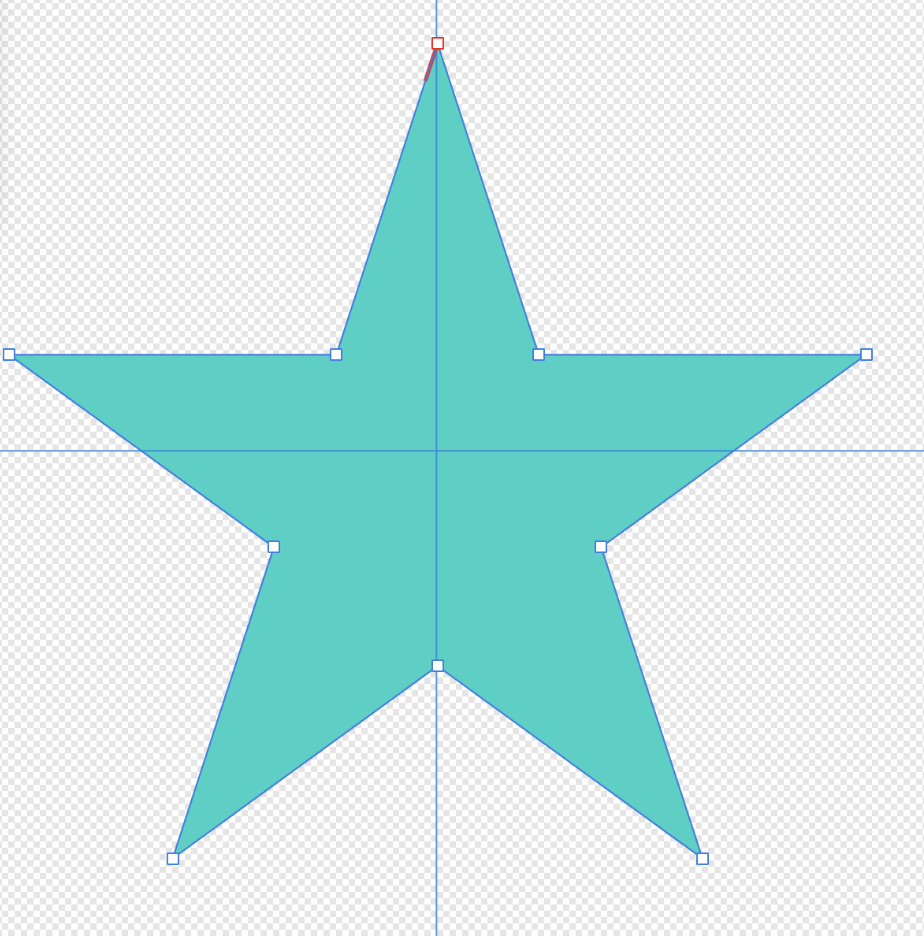
- Select the Star tool, and draw a star shape on the canvas.
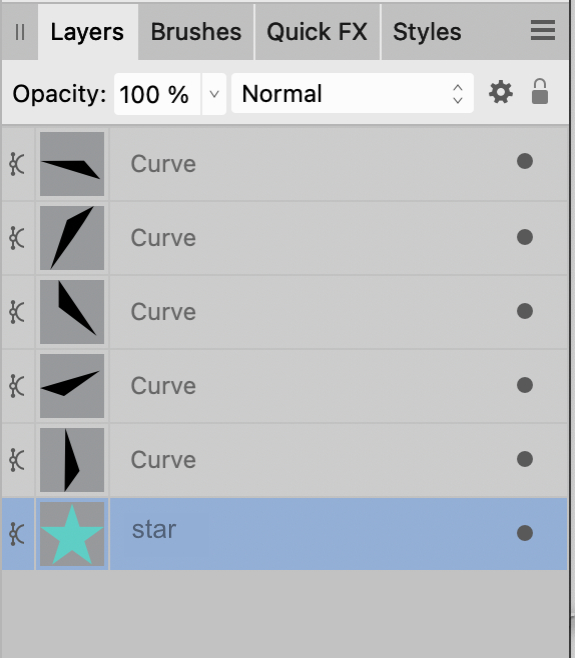
- In the Layers panel, name this layer star.
- In the Context toolbar, set the Fill color to your choice (see screenshot).
- From the Menubar, click Layer - Convert to Curves.
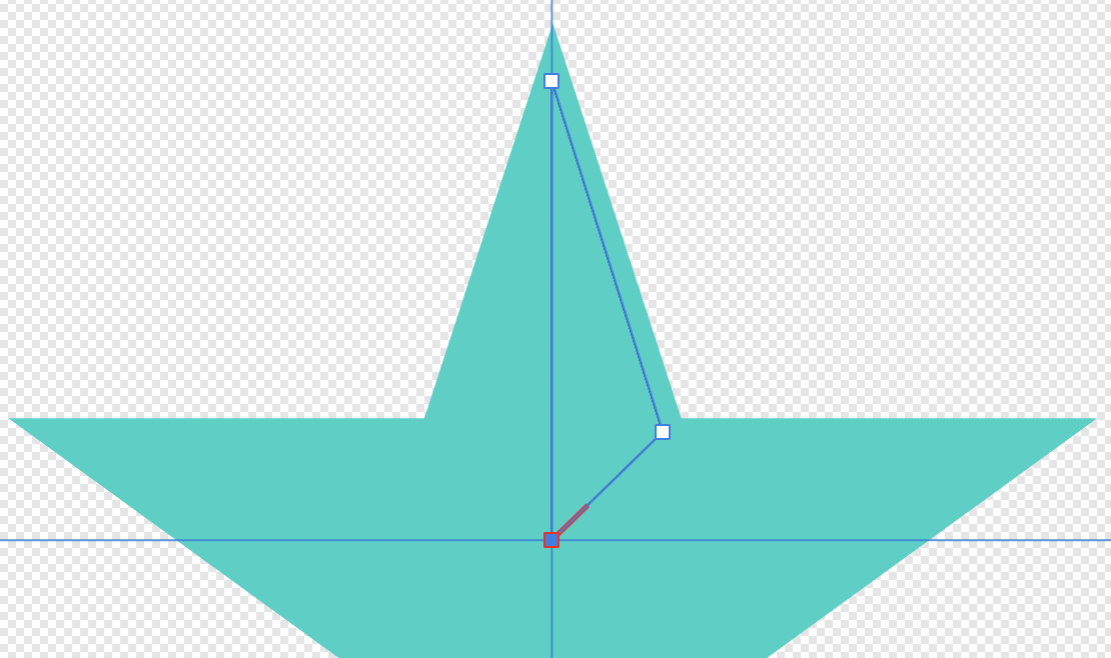
- Select the Pen tool and draw a triangle over one half of the top point of the star (see screenshot).
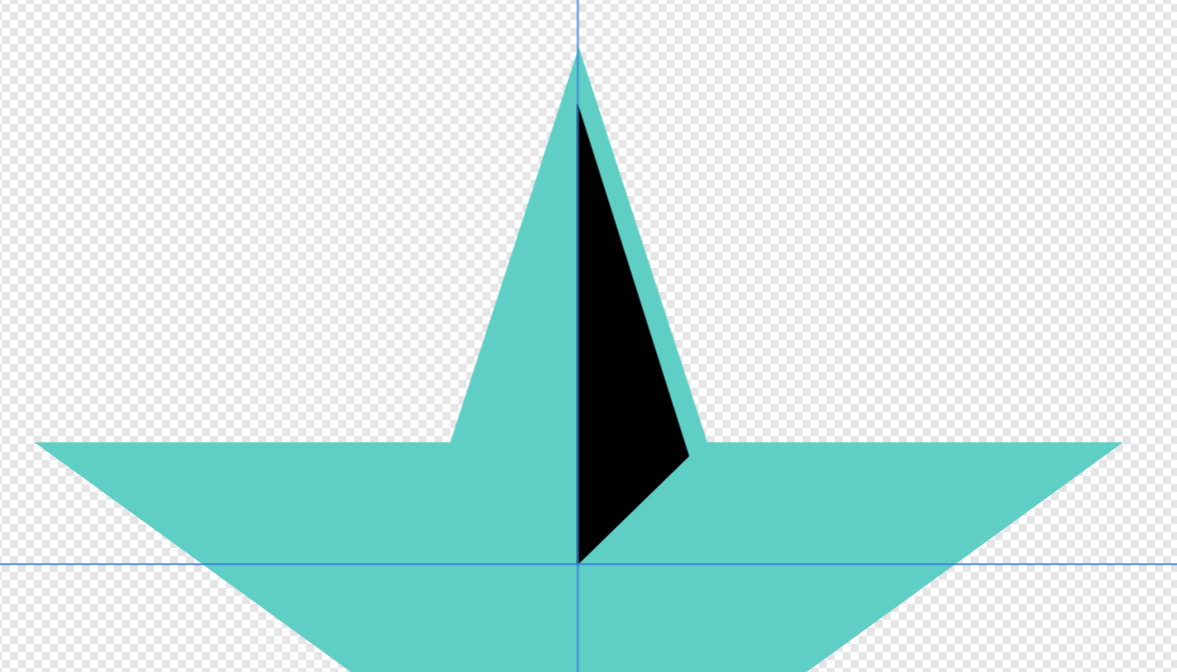
- In the Context toolbar, set the Fill to black for the triangle (see screenshot).
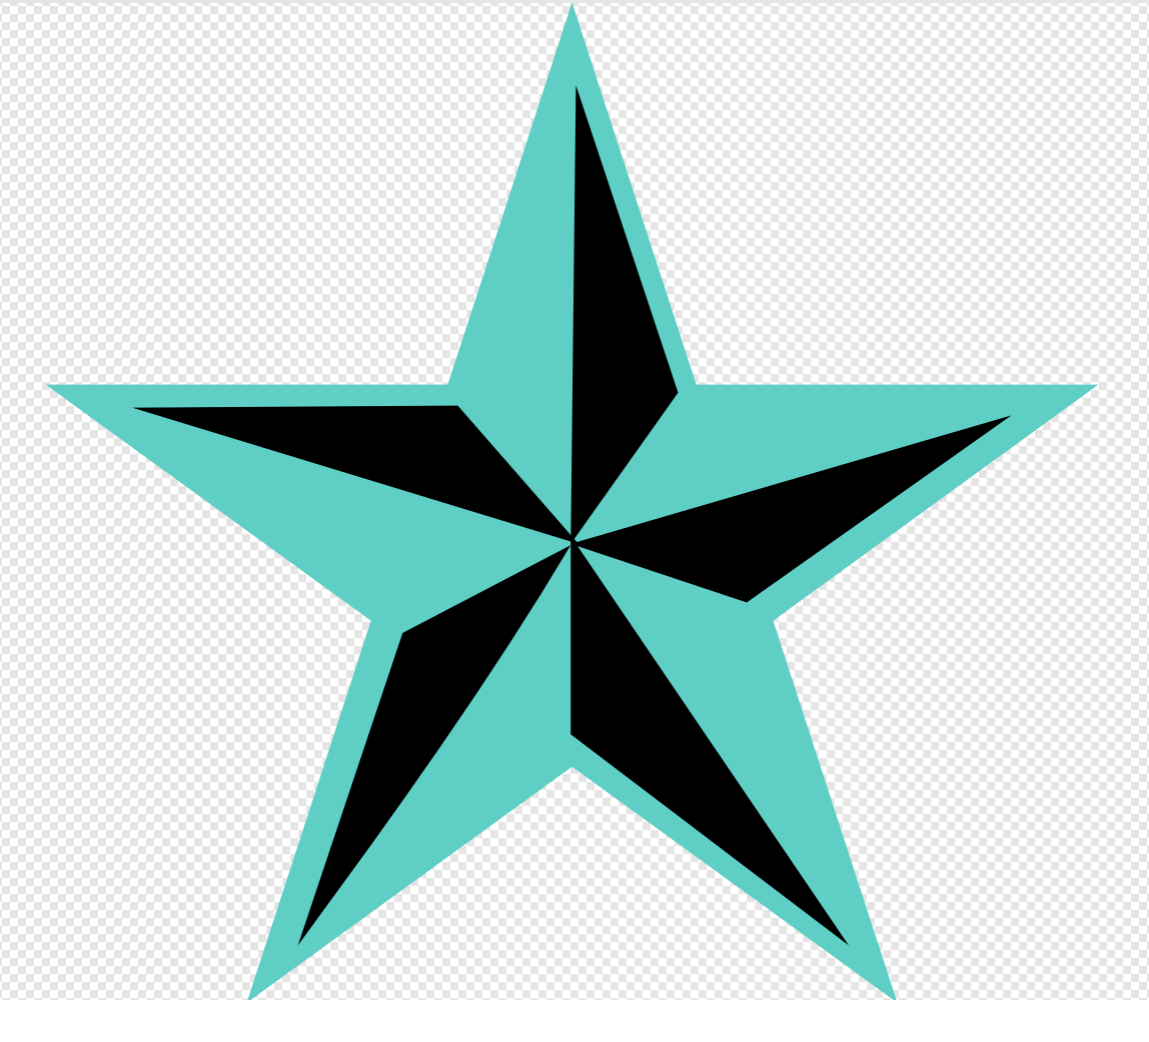
- Repeat the previous steps for the other four points on the star (see screenshot).
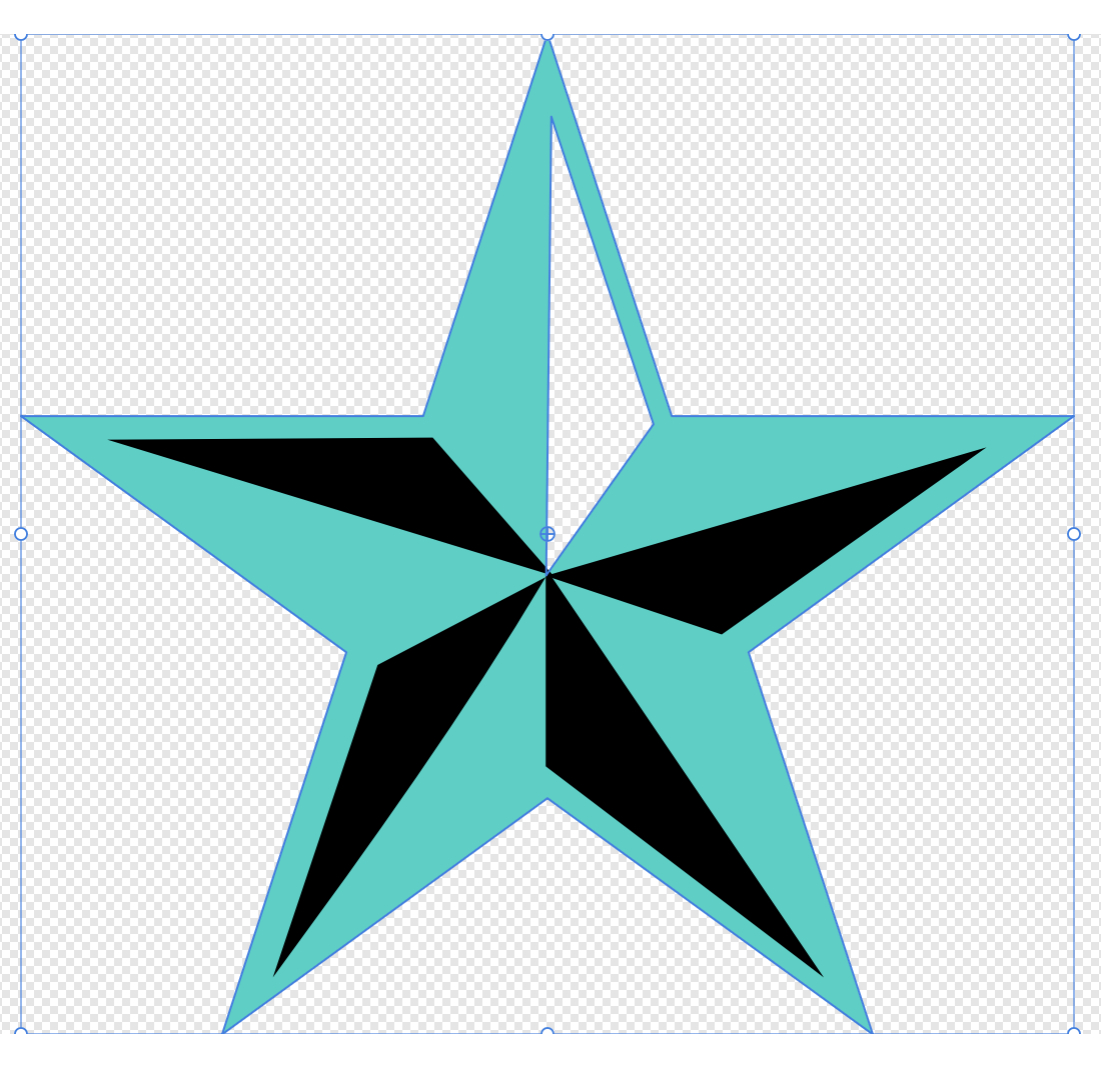
- In the Layers panel, select both the star and the triangle layer just above the star layer.
- In the Boolean section of the Toolbar, click the Subtract icon.
- Repeat the previous step and cut away the other four triangles.
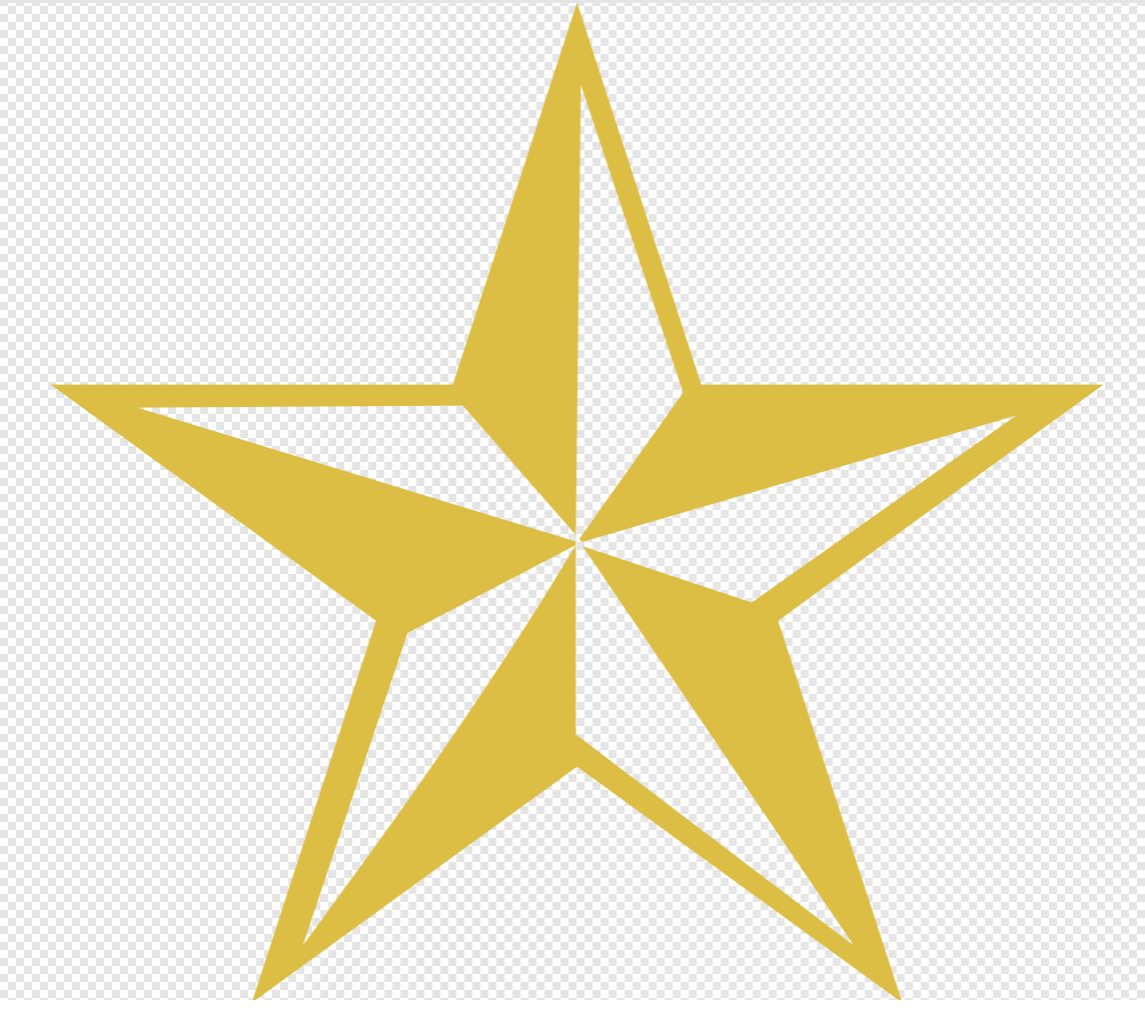
- With the star layer selected, change the Fill color to E3BD15 (see screenshot).
- With the star layer still selected, click the Layer Effects icon at the bottom of the Layers panel.
- In the Layer Effects pop-up window, check the box next to Outer Shadow. Keep the default settings but set the Radius to about 5 to 11 pixels (see screenshot).
In order to manipulate the shape nodes, we first need to apply the Convert to Curves feature.
In preparation for using the Subtract Boolean, we will draw triangles over the part of the star that we want to cut away.
In the Layers panel, you should now have the star layer and five Curve layers containing one triangle each (see screenshot).
Now we will use the black triangles to cut away parts of the star.
The black triangle will disappear and that same triangle shape will be cut away from the star (see screenshot).
You should now have a stylized version of the basic five pointed star. We will change the color to gold and add a shadow effect.
Now we will add the shadow.
Index - How to Draw a Holiday Theme Collection of Elements
Affinity® Designer screenshots used by permission of Serif (Europe) Ltd. This article is not endorsed by Serif Ltd.

Related Articles
Editor's Picks Articles
Top Ten Articles
Previous Features
Site Map
Content copyright © 2023 by Diane Cipollo. All rights reserved.
This content was written by Diane Cipollo. If you wish to use this content in any manner, you need written permission. Contact Diane Cipollo for details.


